Skill Tree Creator
You can watch this video for this part.
SkillPal: PRO has a built-in in-editor Skill Tree creator system which you can use with ease.
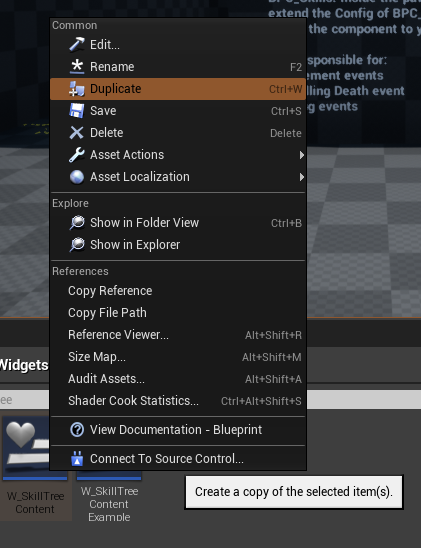
It is located in /SkillPal/BP/Widgets/SkillTree/.
The default provided SkillTree is named “W_SkillTreeContent”. You can duplicate this widget to make your own Tree.
This Widget acts as the SkillTree Creator!

After duplicating the example Tree, search for “Skill Entry” inside the Widget’s Palette tab.
Drag & drop the W_SkillEntry onto the “SkillTreeCanvas”.
Next, select the new entry on the viewport and go to the Details tab on the right. Set “Size to Content” to be true, and find Config under the Skill Entry’s details.
Select the Skill you desire for that entry, adjust its size, and click Compile!
Under Config → Connections, you can adjust the looks of the connection wires.
You can add an offset to the wires of both the locked & required skills to get it look the way you desire.

Please note that RequiredSkills[] cannot be adjusted through the Skill Creator. To adjust this, you must open the Skill DataAsset and add the required skill(s) from there. Afterwards, you will see the connections appearing automatically.
Using the New SkillTree(s)
After creating a Skill Tree, to see it in-game, you must assign it to the W_SkillTree widget which handles the in-game behaviour of your Skill Tree(s).
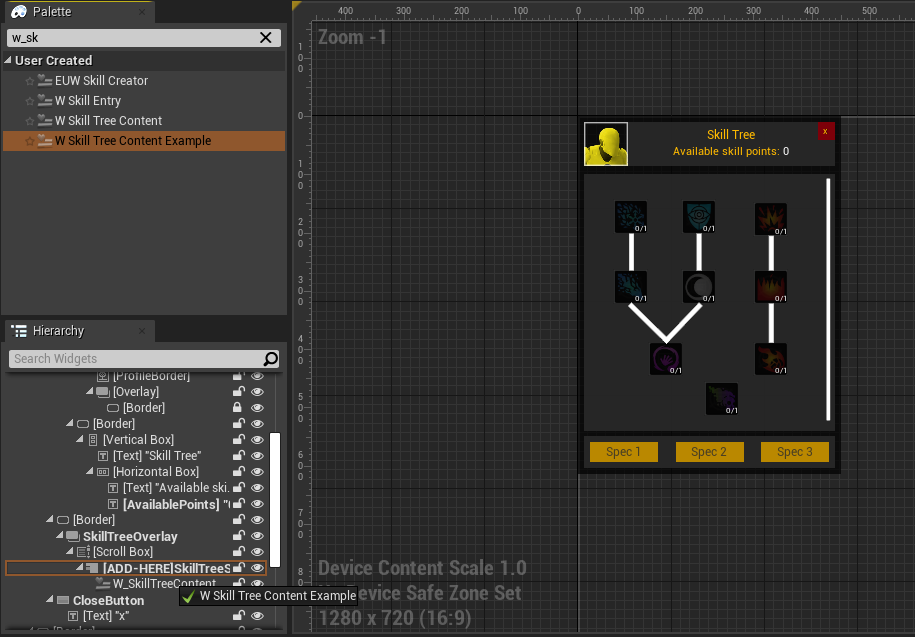
To do so, head into /SkillPal/BP/Widgets/SkillTree/ and open W_SkillTree.
Next, simply search for the Tree you have created (in this example case "W_SkillTreeContentExample") and drag it onto the WidgetSwitcher named “[ADD-HERE]SkillTreeSwitcher”.

You can rearrange the order of your Skill Trees under this widget switcher with ease!